Microgreens, the tiny, edible greens that come from young vegetables and herbs, have taken the culinary world by storm. These little powerhouses of nutrition are incredibly easy to grow at home, making them an excellent addition to any home garden or kitchen. This guide will walk you through everything you need to know to start growing microgreens. From choosing the right seeds to harvesting your crop, you’ll learn how to enjoy these delicious, nutrient-packed greens in no time.
Contents
- 1 What You Need To Know About Microgreens
- 2 Tips For Growing Microgreens
- 3 Choosing the Right Seeds
- 4 Preparing Your Growing Medium
- 5 Sowing and Germinating Seeds
- 6 Watering Your Plants
- 7 Light Requirements
- 8 Harvesting and Storing
- 9 Troubleshooting Common Growing Problems
- 10 You’re Ready To Start Growing Microgreens!
What You Need To Know About Microgreens
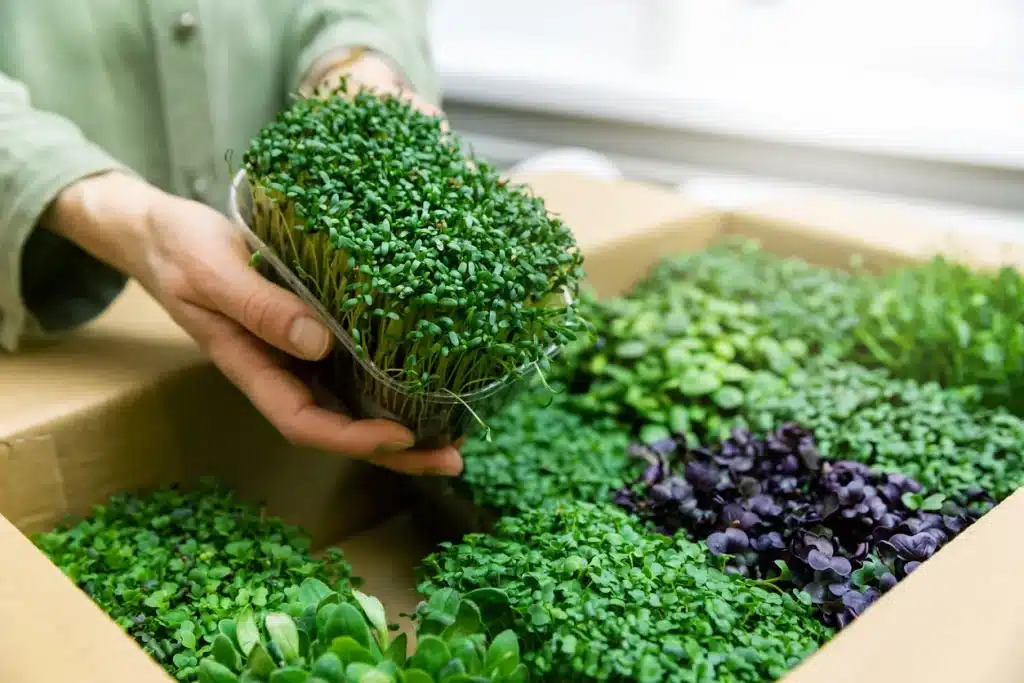
Microgreens are young vegetable greens that are approximately 1–3 inches tall. They have an aromatic flavor and concentrated nutrient content, and they come in a variety of colors and textures. Microgreens are typically harvested less than two weeks after germination when the plant’s cotyledons (first leaves) fully develop. They are less mature than baby greens and more mature than sprouts, giving them unique characteristics.
Some popular microgreen varieties include radish, mustard, broccoli, and kale, each with its unique flavor profile. Beyond their culinary appeal, microgreens are packed with vital nutrients like vitamins C, E, and K. They’re a great way to boost your nutrient intake, whether you’re a seasoned chef or a kitchen novice.
Tips For Growing Microgreens
If you want to start enjoying microgreens in your kitchen, the process is much easier than you might think. By keeping the following tips in mind, you can successfully cultivate your own crop of microgreens:
Choosing the Right Seeds
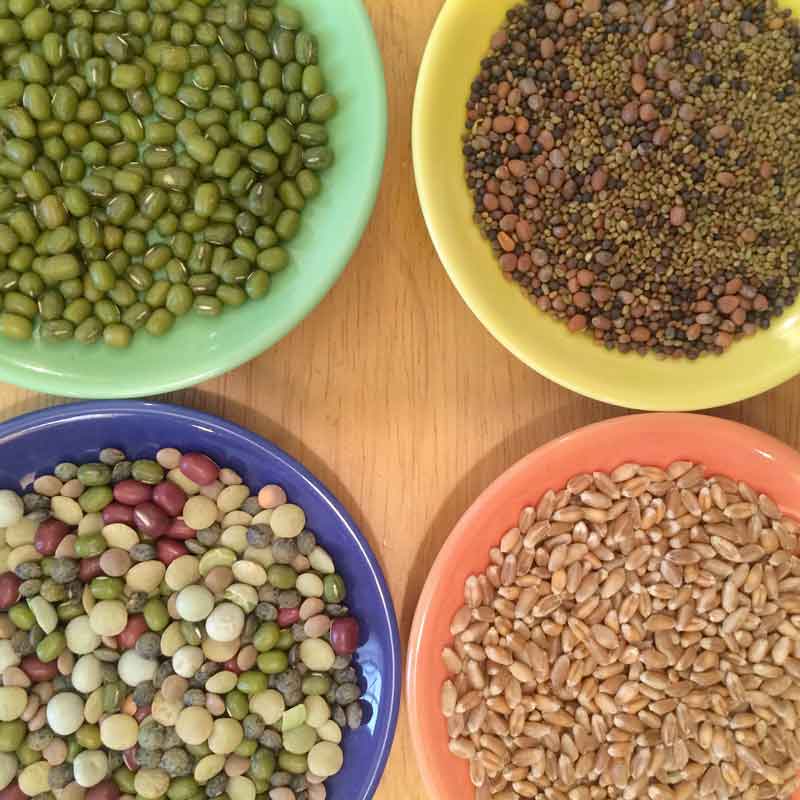
Choosing high-quality seeds is crucial for successful microgreen cultivation. Look for organic seeds specifically labeled for microgreen use, as they are free from harmful chemicals and are not genetically modified. Also, larger seeds tend to be easier to grow, making peas, sunflowers, and radishes good options for beginners.
Just keep in mind different seeds offer different flavors and nutritional profiles. For instance, sunflower microgreens are sweet and crunchy, excellent for salads and sandwiches, while radish microgreens have a peppery taste, perfect for adding a kick to your dishes. Experimenting with different seeds can be a fun and rewarding part of the growing process.
Preparing Your Growing Medium
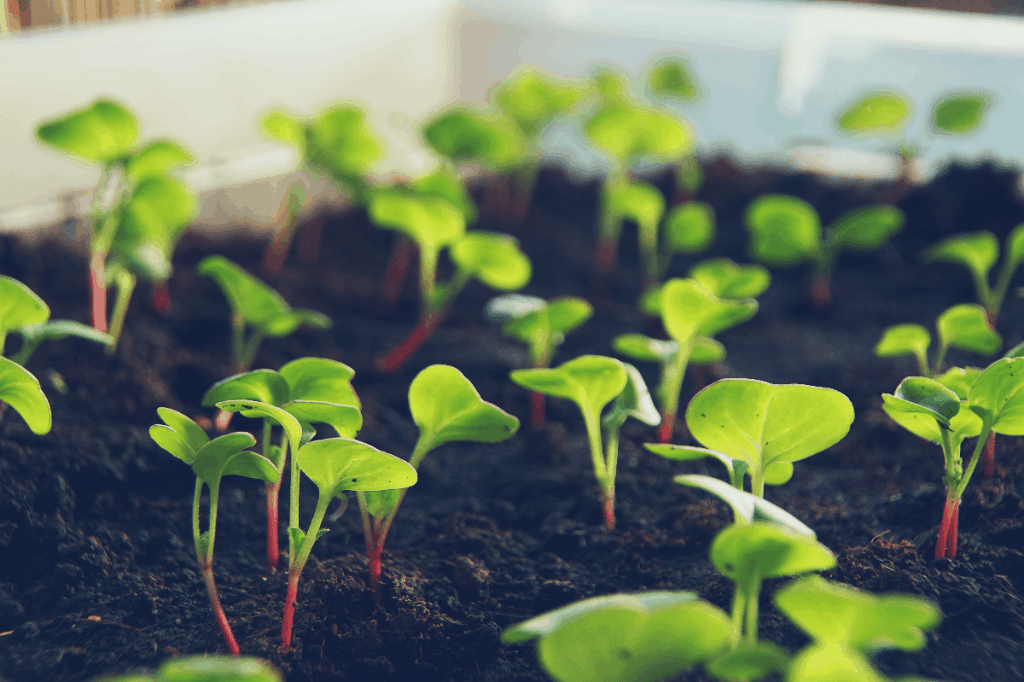
Your growing medium will play a vital role in the success of your microgreen crop. Soil is the most common choice because it’s inexpensive, readily available, and can hold a lot of moisture. For soil-based growing, choose an organic potting mix that drains well. This will ensure your microgreens get the right amount of water, oxygen, and nutrients.
Alternatively, you can use hydroponic growing mats made from coconut coir or hemp as a soil-free option. These mats are sterile and easy to manage, making them a good choice for indoor growing. Regardless of the medium you choose, make sure it’s about 1-2 inches deep in your growing tray for optimal growth.
Sowing and Germinating Seeds

Sowing your microgreen seeds evenly is key to preventing overcrowding and ensuring a good yield. After preparing your growing medium, scatter your seeds across the surface, aiming for a density that allows each seed a small bit of space. Remember, these plants won’t grow large, so they don’t need a lot of room.
The germination process begins when you add water. Gently mist the seeds with water, cover the tray with a second tray or a piece of cardboard, and place it in a warm, dark location. It’s essential to monitor the moisture levels daily, misting as needed to keep the seeds damp but not soaking. Within a few days, you should start to see sprouts emerging.
Watering Your Plants
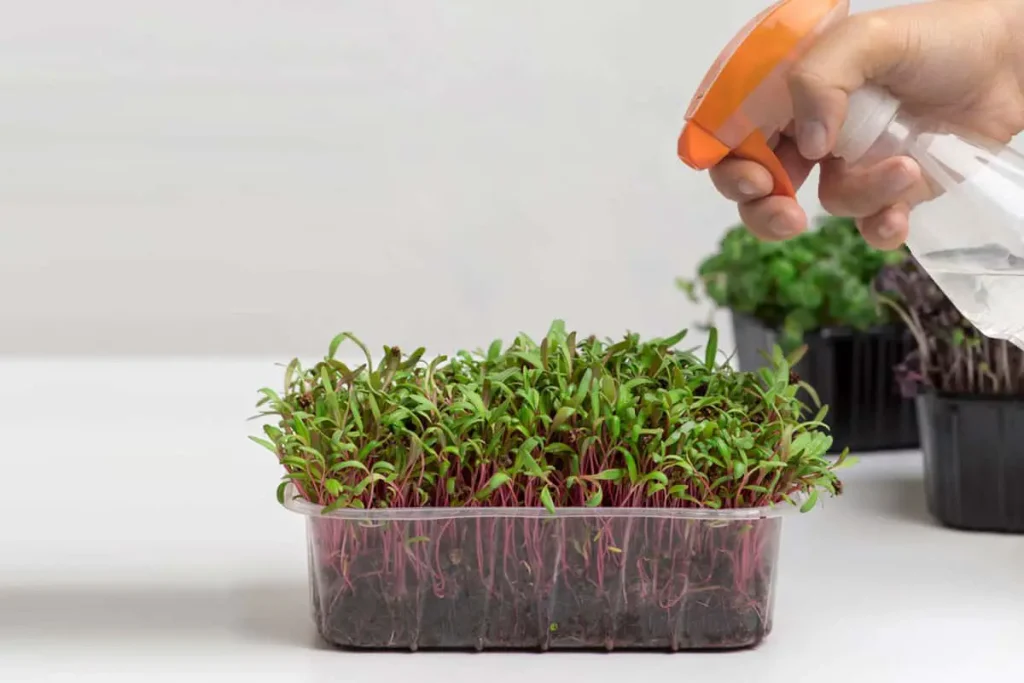
Like growing any other plant, watering is an essential part of successful microgreen cultivation. Proper hydration helps your plants reach their full potential and prevents them from becoming stressed or wilted. For soil-based growing, water the tray until the soil is saturated but not overly wet.
For hydroponic systems, use a nutrient solution in place of water. Most hydroponic solutions contain a mix of minerals, vitamins, and other nutrients designed explicitly for microgreens. These nutrient-rich waters will provide your young plants with the nourishment they need to thrive.
Light Requirements
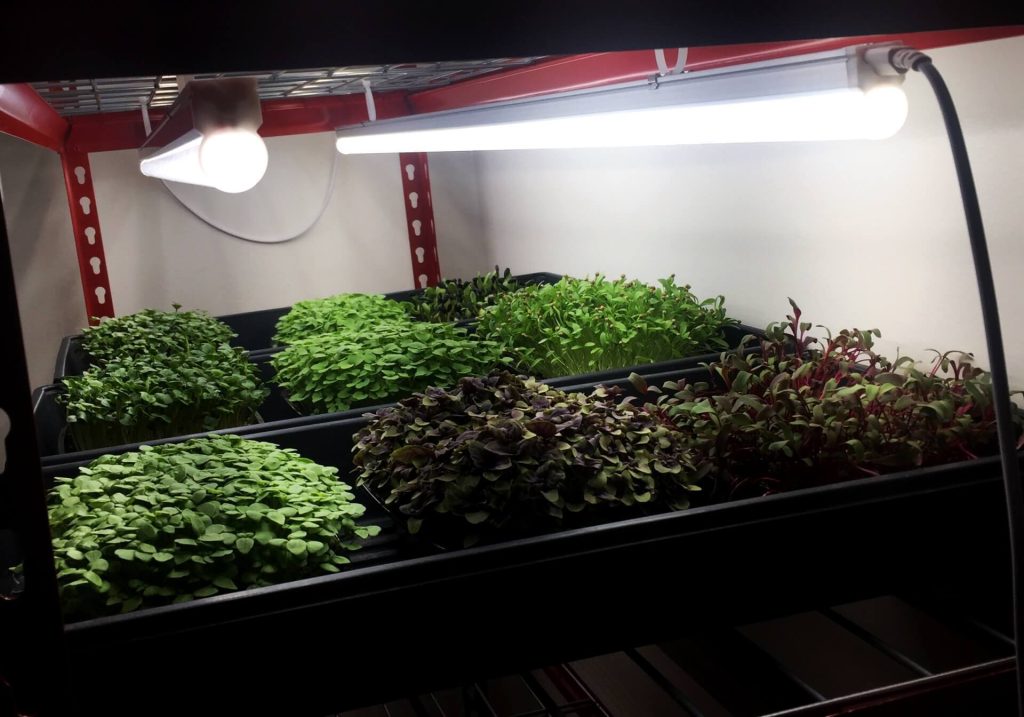
When it comes to lighting, not all microgreens require the same amount of attention. Some varieties, such as wheatgrass, only require moderate lighting, while others, such as broccoli and mustard greens, require intense light for optimal growth. This is because certain microgreens rely heavily on photosynthesis to generate energy, while others can thrive with less light input.
It’s important to understand the light requirements of each variety to ensure successful and healthy growth. By providing the appropriate amount of lighting, microgreens can flourish and provide a colorful and tasty addition to your meals.
Harvesting and Storing
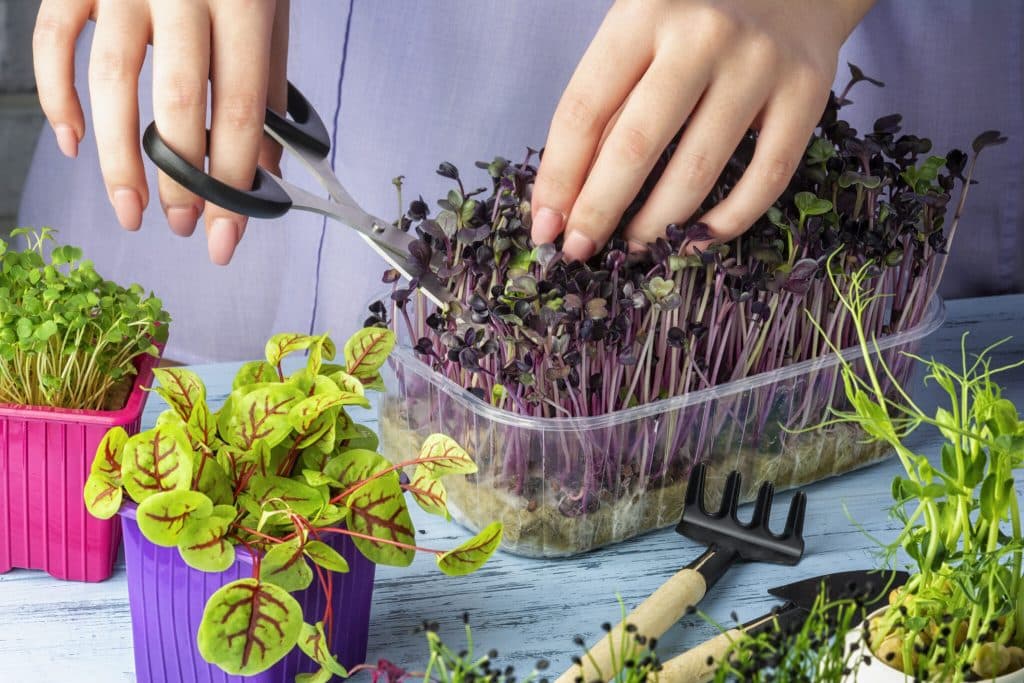
Harvesting your microgreens is a straightforward process. When the first true leaves (the leaves that follow the initial cotyledons) start to form, your microgreens are ready to harvest. This usually happens about 1-2 weeks after sowing. Simply snip the microgreens just above the soil line with a clean pair of scissors.
Storing microgreens properly can extend their freshness. After harvesting, gently rinse the greens and pat them dry. They can be stored in a plastic bag or container in the refrigerator for up to a week. It’s best to store them whole and chop them just before use to maintain their flavor and nutrients.
Troubleshooting Common Growing Problems
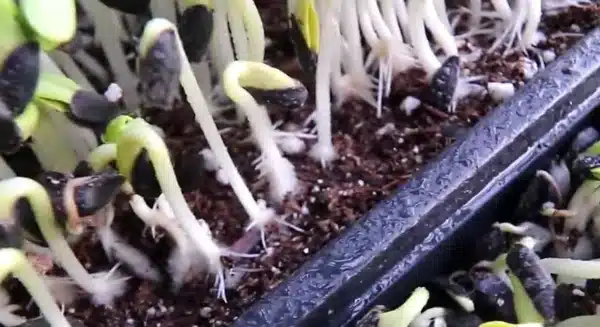
Unfortunately, when microgreens you might run into a few problems. The most common issue is damping off, a fungal disease that can cause seedlings to collapse and die. This is usually due to overwatering or poor air circulation. To prevent this, ensure your microgreens have good air movement and avoid overwatering. You can also add an organic fungicide or soil amendment to help prevent damping off.
Other common problems include wilting, discoloration, and nutrient deficiencies. To prevent these issues, make sure to monitor your microgreens regularly and adjust light, water, and nutrient levels as needed. One of the first signs of trouble is yellow or discolored leaves. If this happens, check your soil’s pH level and adjust as needed to ensure that your plants are able to absorb the necessary nutrients from the soil.
You’re Ready To Start Growing Microgreens!
Growing microgreens is an easy and rewarding experience. With proper care, they can provide you with a nutritious crop of delicious greens in just a few weeks. By understanding the needs of your microgreens and providing them with what they need to thrive, you can enjoy fresh, flavorful greens all year round. And while you may run into a few problems along the way, troubleshooting is just part of the process. With some attention and care, you can be successful in your microgreen endeavors.