Breadmaking is a culinary tradition that dates back to the dawn of civilization, offering a tangible link to the past and a delicious promise for the future. The art of transforming simple ingredients like flour, water, yeast, and salt into a warm, fragrant loaf is as satisfying as it is skill-enhancing. Embracing the homemade breadmaking journey not only allows you to savor the freshness of your creation but also gives you control over the ingredients you use, contributing to a healthier lifestyle. As a bonus, there’s an undeniable sense of accomplishment and joy in creating your own bread, a testament to your culinary prowess. If you would like to get started, read on for a beginner’s guide to breadmaking!
Contents
- 1 Understanding The Basics Of Breadmaking
- 2 A Simple Guide To Breadmaking Tools
- 3 The Importance Of Yeast And Proofing
- 4 Learning About Different Types Of Flour
- 5 Kneading And Developing Gluten
- 6 Understanding Fermentation And Its Role In Breadmaking
- 7 Shaping Your Dough
- 8 Baking Your Bread: Time And Temperature
- 9 Cooling and Storing Your Homemade Bread
- 10 Troubleshooting Common Breadmaking Problems
- 11 Follow This Guide To Breadmaking!
Understanding The Basics Of Breadmaking
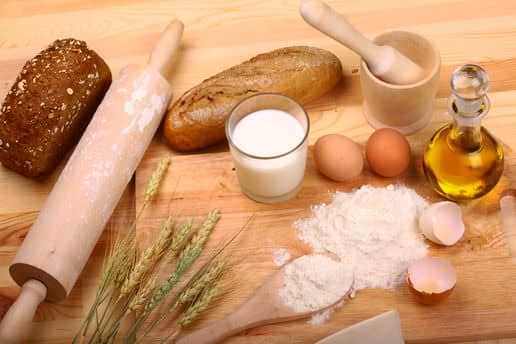
In breadmaking, the four fundamental ingredients – flour, yeast, salt, and water – work in concert to create the magic that is bread. Flour provides the structure, yeast initiates fermentation and leavening, salt enhances flavor and regulates yeast activity, and water hydrates the flour and activates the yeast. By understanding the purpose of each ingredient, you can start making variations and adjustments to suit your palate.
In your breadmaking journey, you may come across recipes that include additional ingredients such as sugar, fats, and additives like seeds, nuts, and dried fruits. While these enhance flavor and texture, they aren’t necessary for basic breadmaking. As you gain experience, feel free to experiment with these to create unique and personalized loaves.
A Simple Guide To Breadmaking Tools
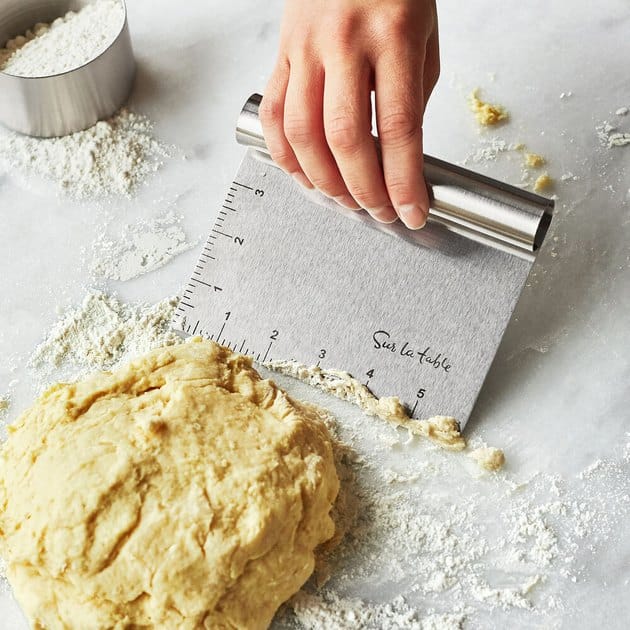
While breadmaking in its most basic form can be accomplished with very few tools, some equipment can make the process easier and more efficient. Essential tools include a large mixing bowl for combining and kneading your dough, a dough scraper for manipulating and portioning the dough, and a loaf pan or baking sheet for baking.
A set of measuring cups and spoons is necessary for accuracy, especially when starting out. Breadmaking is part science and part art, and precise measurements can be the difference between success and failure. Other helpful tools include a kitchen scale for measuring ingredients by weight, a thermometer for gauging water and bread temperature, and a bread knife for clean slicing of your final product.
The Importance Of Yeast And Proofing
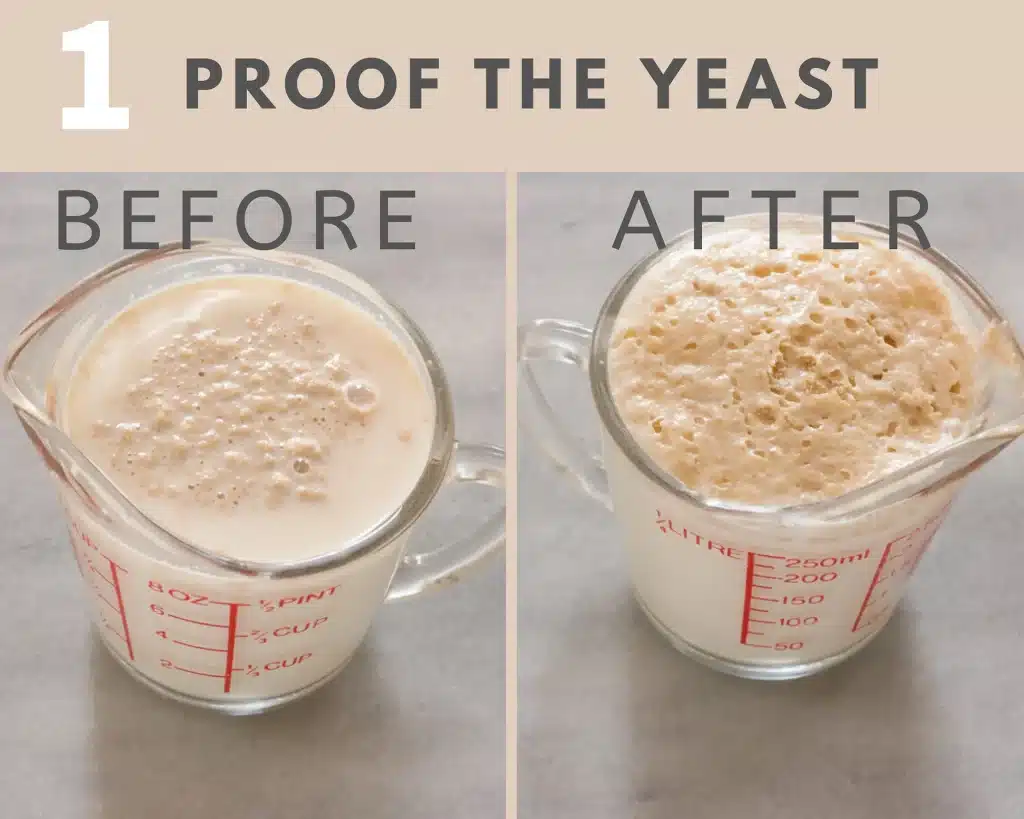
Yeast is a microorganism that plays a pivotal role in breadmaking. When combined with warm water and sugar or flour, yeast begins to ferment, releasing carbon dioxide gas and ethanol. This process is known as proofing, and it’s what causes the bread dough to rise and become light and airy.
There are different types of yeast used in breadmaking, including active dry yeast, instant yeast, and fresh yeast. Active dry yeast requires activation in warm water before use, while instant yeast can be mixed directly with the flour. Fresh yeast, though less common in home kitchens, is preferred by some for its robust flavor. Understanding the type of yeast specified in your recipe and how to use it is crucial to successful breadmaking.
Learning About Different Types Of Flour
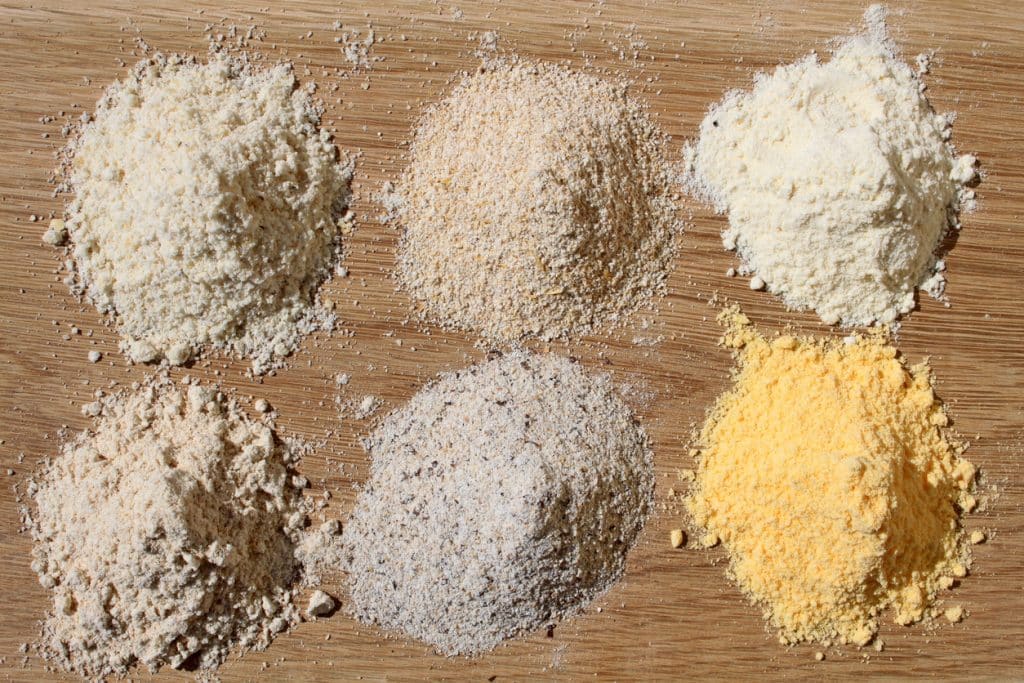
The type of flour you use can significantly impact the texture and flavor of your bread. All-purpose flour is a good choice for beginners because of its balanced protein content that allows for a consistent product. Bread flour, with a higher protein content, creates a chewier texture and is ideal for artisan bread.
Whole wheat flour, rich in fiber and nutrients, yields a denser loaf with a hearty flavor. There are also other specialty flours, such as rye, spelt, and buckwheat, each imparting a unique taste and texture to your bread. As you gain proficiency in breadmaking, exploring these different flours can add diversity and complexity to your baking repertoire.
Kneading And Developing Gluten
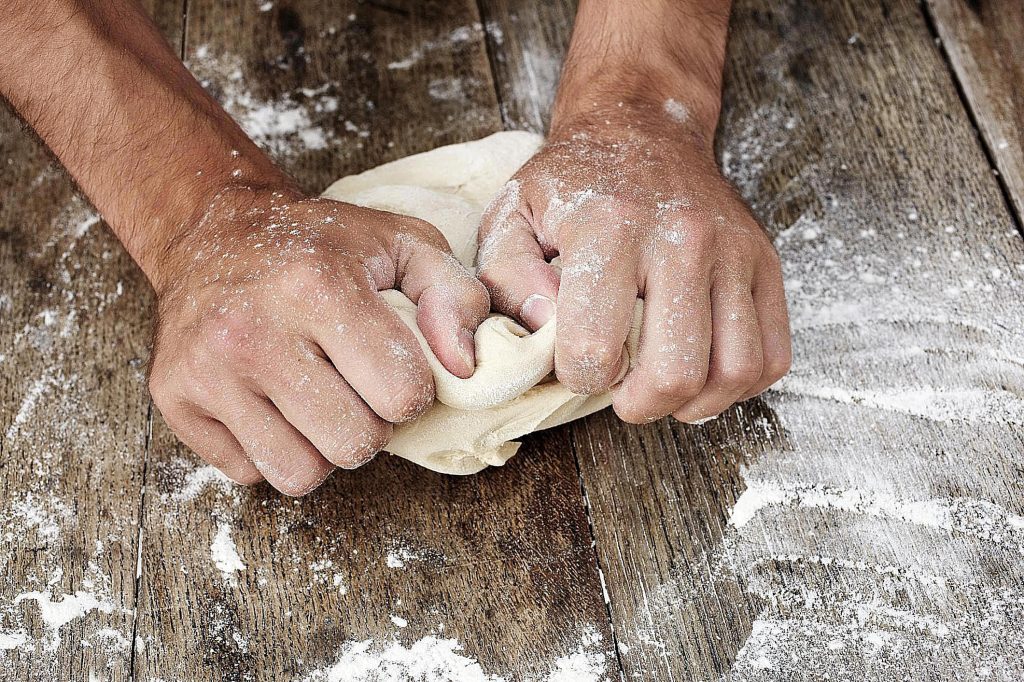
Kneading is a crucial step in the breadmaking process. When you knead your dough, you’re developing gluten, a protein network that gives bread its structure and chewiness. This physical action of stretching and folding helps align the gluten proteins, creating a strong and elastic dough that can trap and hold the carbon dioxide gas produced by yeast.
Kneading can be done by hand or with a stand mixer fitted with a dough hook. It requires patience and observation, as the under-kneaded dough won’t hold its shape well, and the over-kneaded dough can become tough. The goal is a smooth, elastic dough that springs back when lightly pressed, a telltale sign that you’ve developed sufficient gluten.
Understanding Fermentation And Its Role In Breadmaking
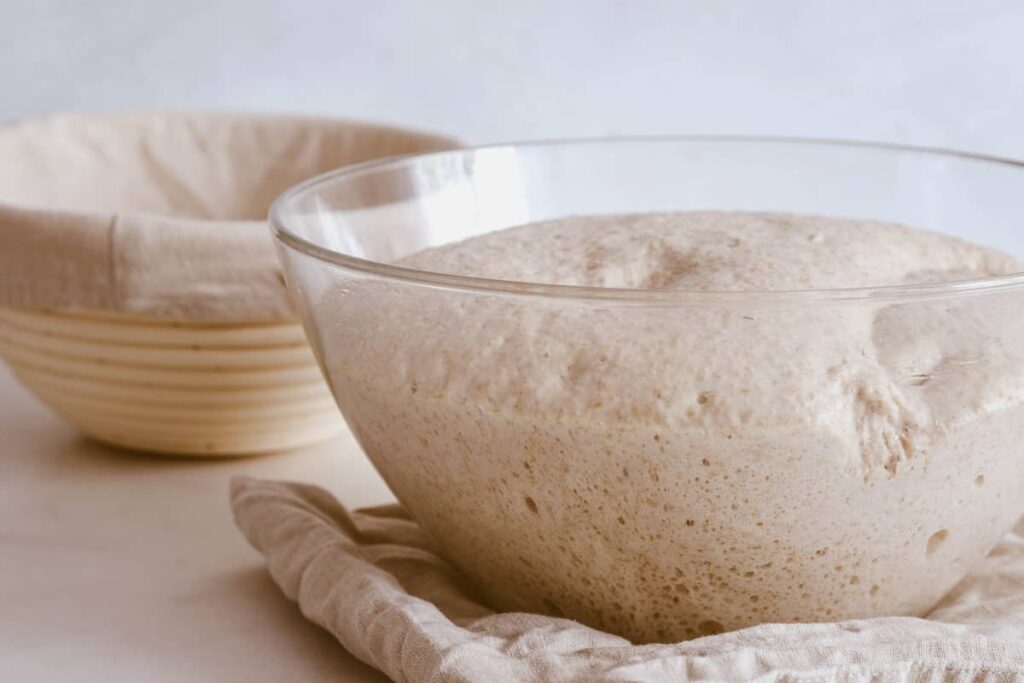
Fermentation is the process where yeast consumes the sugars in the flour and produces carbon dioxide gas, and alcohol. This not only causes the dough to rise but also contributes to the flavor and aroma of the bread. This process can be seen during the first rise, bulk fermentation, and during the second rise or proofing after the bread has been shaped.
Controlling the fermentation process is a delicate balance and requires consideration of factors such as temperature, time, and the amount of yeast used. A cooler environment slows down fermentation, allowing for more flavor development, while a warmer environment speeds it up. Getting to know these factors and learning how to manipulate them will give you more control over the final texture and flavor of your bread.
Shaping Your Dough
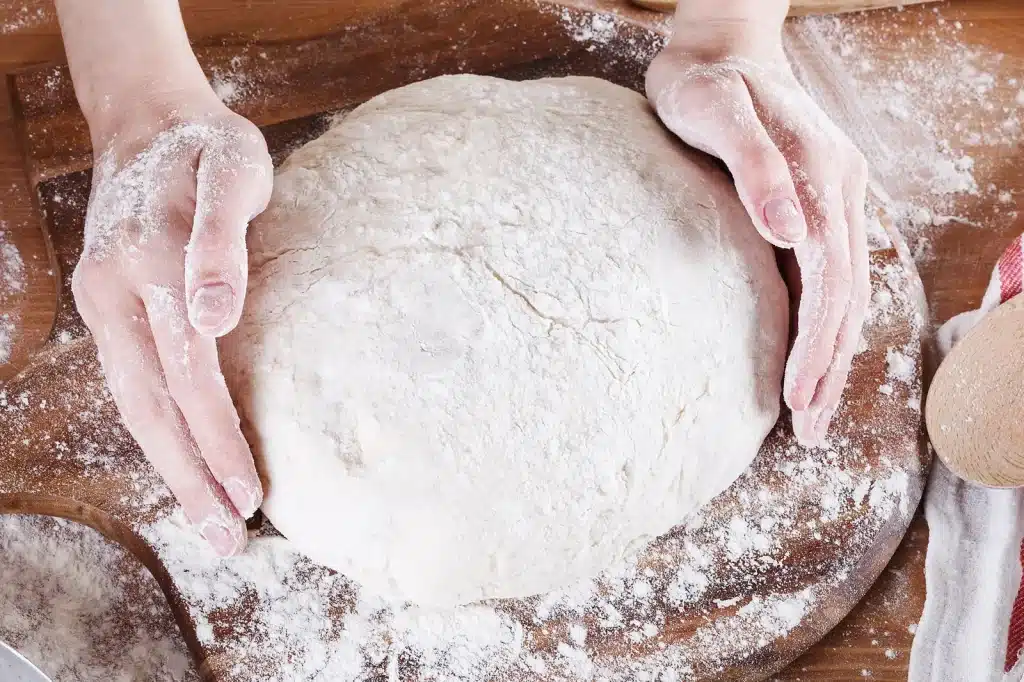
Shaping the dough is more than just an aesthetic endeavor – it affects the final texture of your bread. A tightly shaped loaf will have a more even crumb, while a loosely shaped one might result in large, irregular air pockets. For a basic loaf, the dough is typically flattened into a rectangle, then tightly rolled into a cylinder and sealed.
Remember, shaping requires a gentle touch to avoid deflating the dough and losing the gas pockets developed during fermentation. As with all steps in breadmaking, practice is key. Don’t be discouraged if your first few loaves aren’t picture-perfect; your skill will improve over time.
Baking Your Bread: Time And Temperature
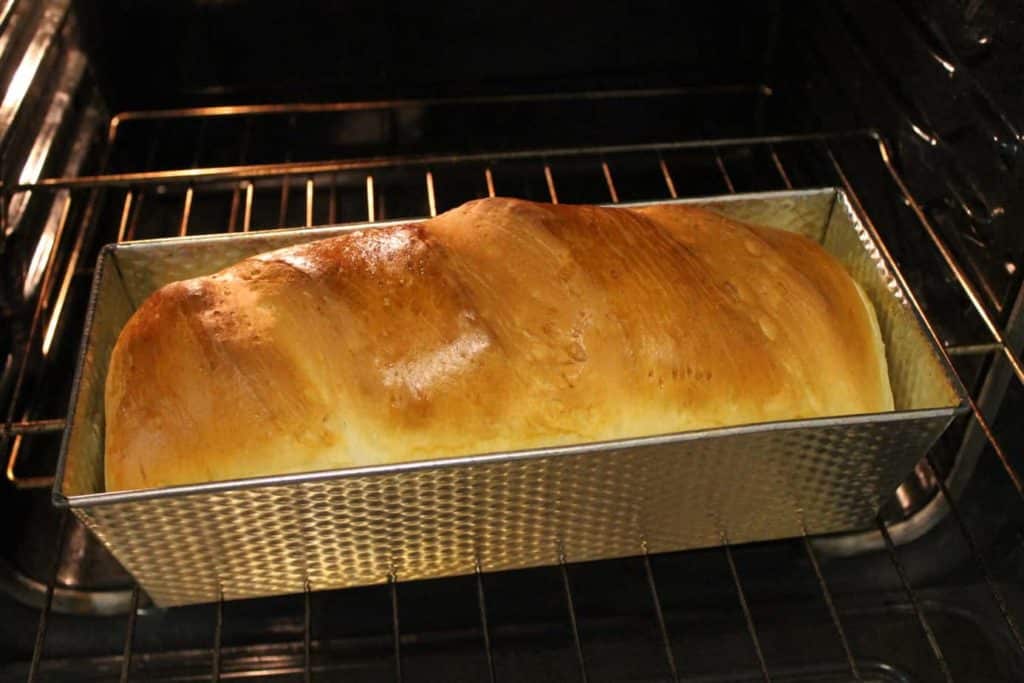
Baking is the final transformative step in breadmaking. The heat of the oven causes the yeast to have a final burst of activity in a phenomenon called “oven spring.” It also triggers the Maillard reaction, a chemical process that gives the bread its golden crust and toasty flavor.
The ideal temperature and baking time vary depending on the type of bread and its size. As a general rule, most breads bake at a high temperature (around 425-475°F) for a relatively short time. Knowing when your bread is done can be a bit tricky, but a classic sign is a hollow sound when the bottom of the loaf is tapped. A digital thermometer inserted into the loaf’s center reaching between 190-210°F usually signifies well-baked bread.
Cooling and Storing Your Homemade Bread
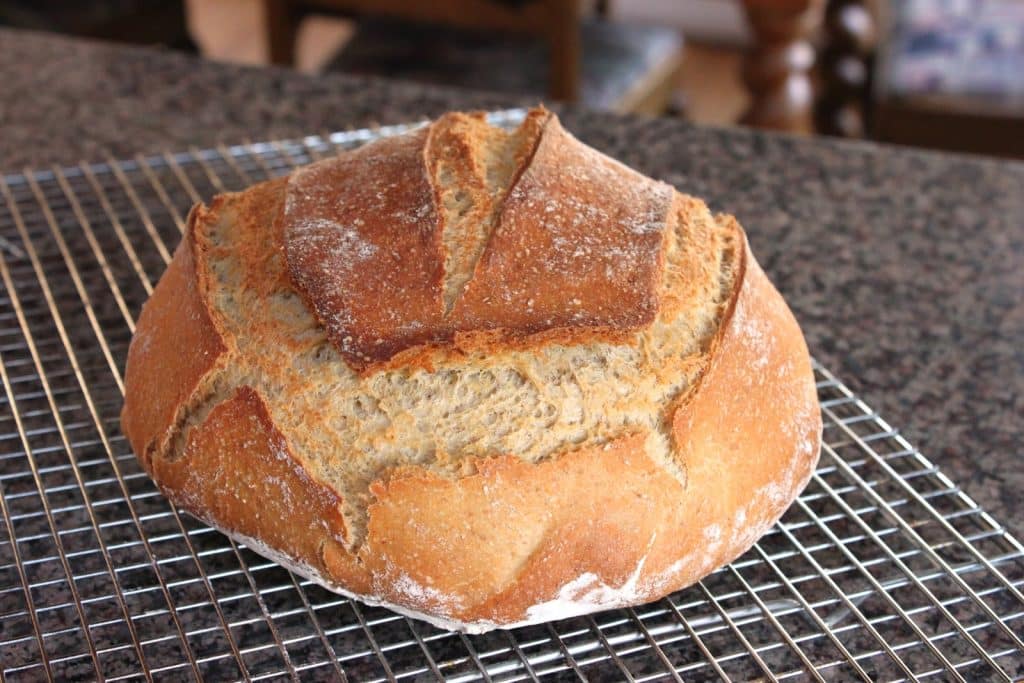
Once your bread is out of the oven, resist the temptation to slice into it immediately. Cooling is a vital part of the process, allowing the residual heat to finish baking the bread from the inside. Cutting too soon can result in a gummy texture. Ideally, bread should be cooled on a wire rack for at least an hour before slicing.
After enjoying the fruits of your labor, proper storage is essential to maintain the quality of your bread. A breadbox or a large zip-top bag can help retain the bread’s moisture for a few days. If you need to store it longer, consider slicing and freezing the bread, then toasting individual slices as needed.
Troubleshooting Common Breadmaking Problems
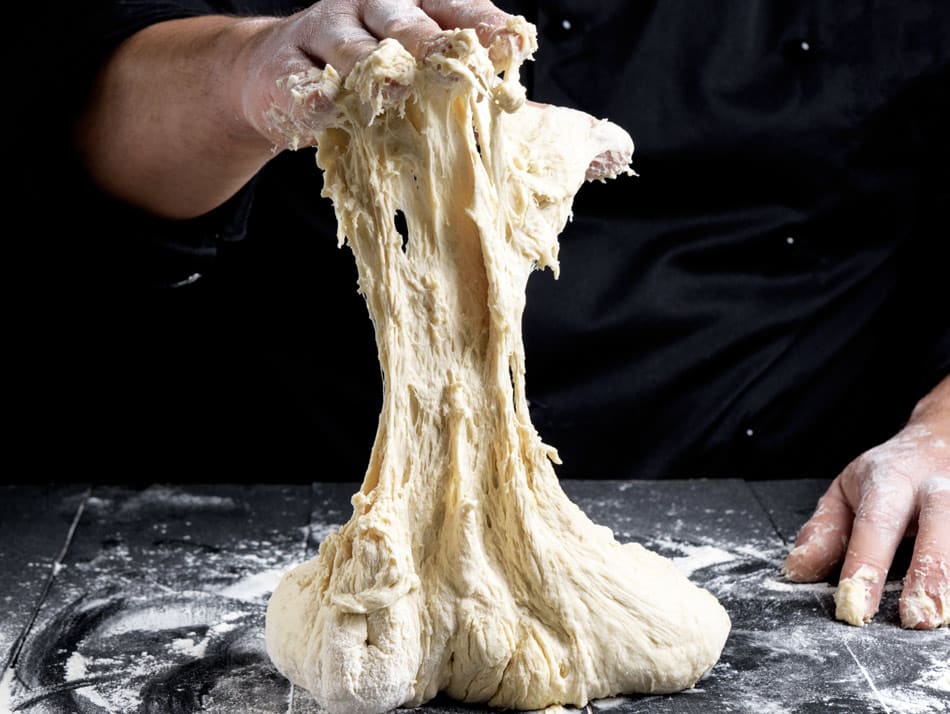
As a beginner, you might face some challenges in your breadmaking journey. The dough might be too sticky or too dry, the bread might not rise well, or the crust might come out too hard. Often, these issues can be addressed by tweaking the recipe or technique. For example, if your dough is too sticky, a bit more flour might be needed. If your bread isn’t rising, your yeast might be old, or the environment might not be warm enough.
Remember, even the most seasoned bakers have had their share of bread fails. Don’t let these obstacles discourage you. Instead, view them as learning opportunities. Keep experimenting, and remember that each loaf you bake brings you one step closer to mastering the art of breadmaking.
Follow This Guide To Breadmaking!
By following this guide to breadmaking, you’ll be well on your way to creating delicious homemade bread. Enjoy the process, don’t be afraid to experiment, and have fun tasting all of your unique creations. With a little practice, you’ll soon be able to proudly say you are a master baker! And remember making bread is an art, so don’t be too hard on yourself if it doesn’t turn out perfect the first time. With some patience and practice, you’ll soon get the hang of it!


